


5 Common Blow-Dry Mistakes to Avoid at Home
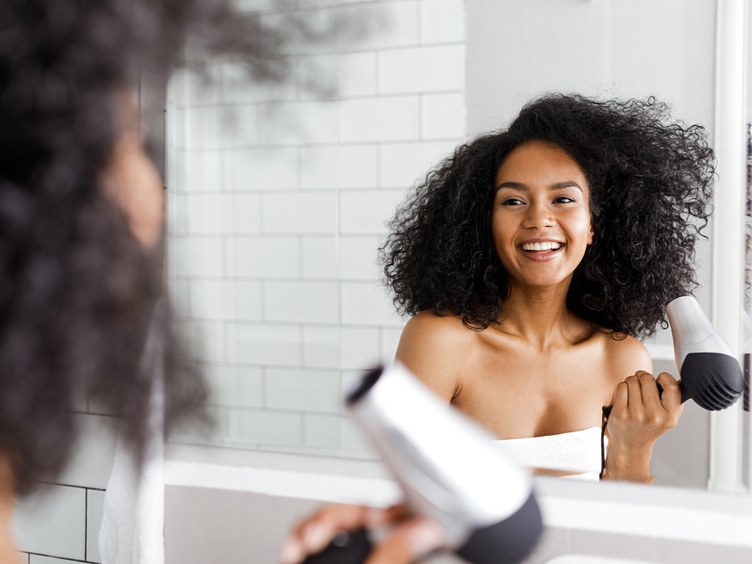
While it may seem like an easy task, there’s more than meets the eye when it comes blow-drying your hair at home. There’s a mastery to this seemingly simple task and little mistakes can be the difference between a sleek, salon-perfect blow-out and a hot mess. When it comes to blow-drying your own hair, practise makes perfect, but you may be making simple mistakes that are actually hurting your hair even more than your look. Here are 5 of the most common blow-dry mistakes to avoid when styling your hair at home. Think of this as the start of your journey to achieving a gorgeous at-home blow-out every single time.
1. Working with too much hair
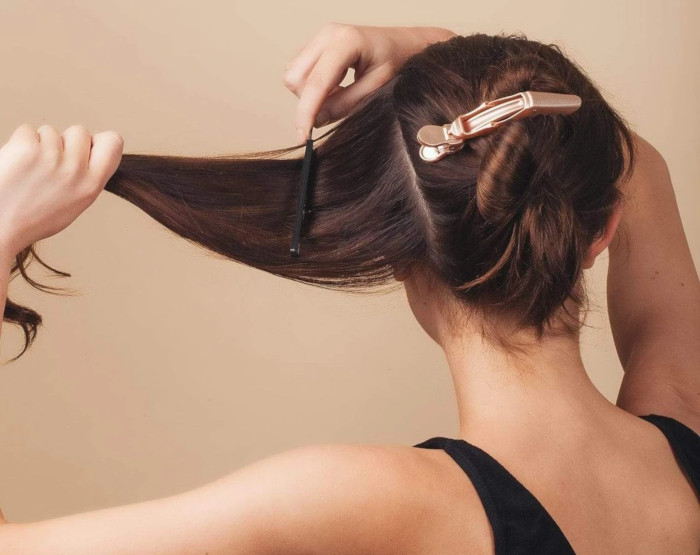
Arguably the most important step in getting a salon-level blow-dry result, not sectioning the hair correctly is where lots of ladies fail at the art of blow-drying. Think of it as the prep before the hard work. Many of us tend to be quite sloppy when it comes to sectioning the hair before blow-drying, but this a huge rookie mistake that almost everyone makes at home. You end up grabbing too much hair to work with, which isn’t the best way to get a smooth blow-out.
Fix it: To get the best results, you should always work with smaller sections, no bigger than the width and depth of your brush’s bristles. Start with the bottom layers of your hair and work your way through the top. Working with smaller sections will resulting in your hair drying faster (reducing the amount of time it’s exposed to heat) and will ensure a more polished look.

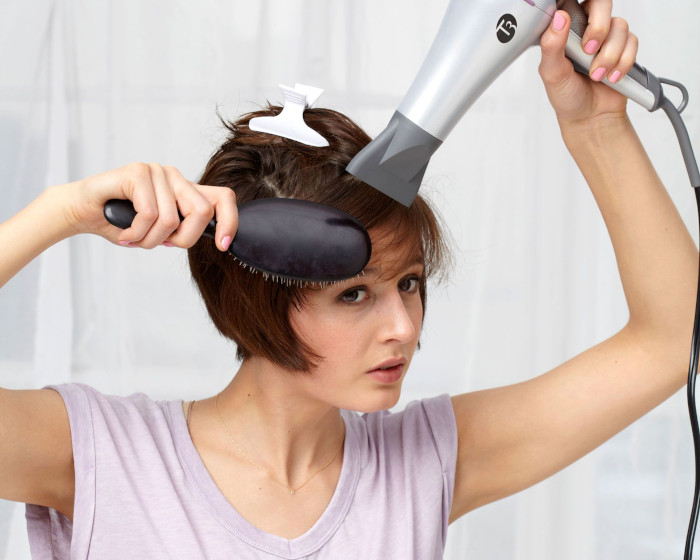
2. Holding the dryer too close

Many of us make the mistake of thinking the closer the dryer is to the hair, the better. But, putting the hair-dryer directly on the hair is one of the most common mistakes ladies make when styling their hair at home. Holding the dryer too close to the hair not only burns the hair, but also causes dryness and breakage.
Fix it: To get a sleek, frizz-free result, always hold the dryer about 20 centimetres from the hair to protect your strands. And, while you’re at it, don’t forget the heat protector spray! Using the right product pre-blowout will also help to save your ends from breakage and make your blow-dry lasts longer. After sectioning the hair, take a second to work the product from mid-shaft to ends before applying heat.
3. Using the same dryer you bought as a student

Just because that dryer you bought 1o years ago is still in ‘working order’ doesn’t mean you should be using it. Yes ladies, it’s time to ditch that dryer you bought at varsity. Firstly, chances are good you didn’t buy the best quality dryer on your student budget, and an upgrade, packed with modern technology, will most definitely give you better results. What’s more, if you’ve had you’re dryer for more than 3 years it’s also time to swap it out for a newer model. As it turns out, hair-dryers stop regulating heat after a while and expire after two or three years (who knew!). If this happens you can easily melt your hair — not a good look for anyone!
Fix it: If your budget allows for it, it may be time to invest in a salon-quality option. But, if you can’t fork out for a professional dryer, fear not, there are loads of great, mid-level dryers on the market to help you get the best results at home. Once you’ve invested in a new dryer don’t forget to make a note in your calendar to replace it at the appropriate time.
4. You ignore the concentrator nozzle attachment


You know that flatter, smaller nozzle attachment that came with your hair dryer? Don’t toss that in the cupboard to gather dust. That little nozzle is key to creating a ‘wow’ blow-dry at home. This little nozzle isn’t just a waste of hard plastic, it’s actually the correct tool to use when blow-drying your hair at home. While the bigger nozzle, the one we all use 99 percent of the time, is more geared towards rough-drying the hair, the smaller nozzle helps to concentrate the air in a more precise way and protect hair from excess heat. Exclusively using the bigger nozzle, or no nozzle at all, will leave you with a frizzy blow-out result.
Fix it: Using the smaller nozzle attachment is better for hair health and styling. In general, a nozzle is a must for a smooth finish as it provides distance between the hair and the lip of the dryer, which is the hottest point. Streamlining the airflow leading to less tangles and split ends. The thinner nozzle will also help blast hot air directly to the roots and get more volume in your styles.
5. You start drying from the back of the head
Many women make the mistake of starting their blow-out from the back of the hair. It may seem like the most logical place to start, but it’s better to tackle the most visible parts first and start at the temples, hairline, and crown then move backwards to the nape.
Fix it: Most of us usually you start in the back, but by the time you get to the top and hairline, your hair has dried making it harder to get smooth. This is especially important to focus on if you have a fringe, bangs, or baby hairs. The front of hair tends to be the most challenging to smooth and by starting at the back your hairline is bound to get frizzy. Stop cow licks and short wisps in their tracks by concentrating on these little buggers first.
Want more beauty finds and reviews? Check out our Beauty section for more exciting reading!